
Watch more videos
-
 #Shorts massive servo wire attack
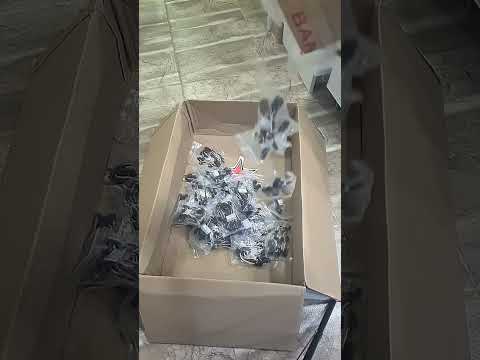
About 200 packs and 1000 servo leads in free fall For many many many planes to build! #shorts ... -
 Auto moto parkas 2021-11-28 SandBOX
Auto moto parkas 2021-11-28 SandBOX Daugiau informacijos: / #sandbox #amp #moto --------------... -
 Enduro Rally 2021 - Pabradė military base
Had a wonderful opportunity to be in a very dirty place on a badly rainy morning but with great a...
