The power button mod on FPV Goggles is definitely convenient and a mod worth doing BUT the illuminated pushbuttons are bulky, the LED ring consumes power (if wired accordingly) when the battery is plugged in and it requires that you do not have a split video receiver module installed in the second module bay.
Also it is harder to implement if you don’t have goggles with a second module bay or with any module bays at all. In this case you would need to drill your goggle casing instead of the module bay cover and also open up your goggles to solder the pushbutton and BEC internally.
Why not approach this subject a bit differently then?
Wouldn't you prefer a small assembly that lets you:
- Turn the goggles ON/OFF with a switch.
- Use 2S or 3S to power your goggles (this applies to Fatsharks - check the specs of your goggles before plugging a 3S battery).
- Charge your smartphone in case of emergency.
- Install on your goggles without drilling holes and transfer to other goggles whenever needed.
This is a simple circuit made of commonly found electronics that is very light, multifunctional and can be modified so that it can be used universally, on any FPV Goggles.
Optimally I would prefer to switch the positive instead of the GND but I preferred to have a layout as small as possible.
This is QUICK GUIDE: More than just a Fatshark Power Button mod: 2S/3S Compatibility and USB charging - Let's go!
____________________
*If you like my content and want to support the channel, you can use the affiliate links below. I get a small kickback from the store if you decide to buy something and it costs nothing extra to you.
Thank you in advance!
PCB Stripboard: (Ebay)
You can also use a standard or double-sided PCB and bridge tracks yourself: (Banggood)
SPDT PCB switch: (Ebay)
USB Type A Female Socket: (Ebay)
5V 2A BEC: (Banggood)
which you can also find here: (Ebay)
PCB Pin Headers (2.54mm pitch): (Ebay)
which you can also find here: (Banggood)
or here: (Gearbest)
5.5x2.1mm DC Jack: (Ebay)
or this, which you can split in half: (Banggood)
2S balance plug with wires (remove middle wire): (Banggood)
or one of these: (Ebay)
Heat-shrink (I used 25mm): (HobbyKing)
or on of these, in various colors: (Ebay)
Tools shown in this video:
Soldering Iron:
(Banggood)
(Gearbest)
(Ebay)
Colored replacement shell:
(Banggood)
Helping Hands:
(Banggood)
(Ebay)
Wire Stripper:
(Banggood)
Keep in mind that this exact assembly is used on a set of Fatshark goggles (Attitude V3). These goggles can be powered by 3S but the fan has a max operating voltage of 12V. For this reason the fan is powered from the 5V BEC that is used for the USB socket, to prevent damage to the fan when running 3S LiPos.
If you intend to deviate from this design, use a different BEC board or want to install on another type of goggles, please make sure you check the operating voltage range of your goggles and the polarity of the electronics and plugs in your circuit before plugging in.
-------------------------------
This video features the song "Traveller" by Lyvo, available under a Creative Commons License
Song link:
Artist link:
CC-by license: /
-------------------------------
#FatsharkMods
#muteFPV
#FPVgoggles
Fpvracer.lt is not the owner of this text/video/image/photo content, the real source of content is Youtube.com and user declared in this page publication as Youtube.com user,
if you have any question about video removal, what was shared by open community, please contact Youtube.com directly or report bad/not working video links directly to video owner on Youtube.com. Removed video from Youtube.com will also be removed from here.

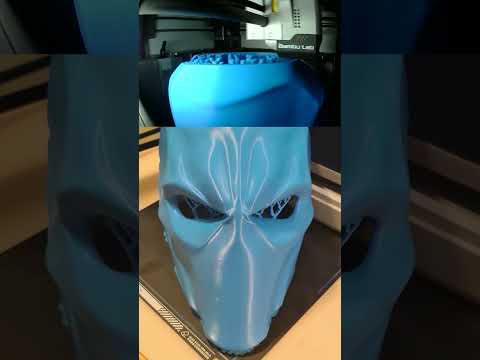 Deathstroke 3d printed wearable mask #shorts
 Auto moto parkas 2021-11-28 SandBOX
 #Shorts massive servo wire attack