***IF YOU ARE PLANING TO BUY ANY OF THE PRODUCTS USED IN THIS VIDEO, PLEASE DO THIS VIA LINKS IN THE VIDEO DESCRIPTION.*** This will help me generate bonus points on hobbyking website. That way I will be able to make better videos in the future.***
This is 8th video in this video series and it's about installing the brain - KK2.0 flight control board.
Here is part list of all the parts that I am going to use until the end of this build series:
The most important thing when installing a flight control board is to reduce vibrations as much as possible. Most flight controllers (KK2.0 included) use gyros and accelerometers to stay in the air. These components are very sensitive to vibrations. The more vibrations they pick up the worse they will perform. Balancing your propellers and motors (reducing vibrations) is one part of the story which I will show you in future videos. The other part is vibration isolation. People use different methods to isolate boards from the frame, but since this is simple/beginner build I've used very basic technique.
Putting foam washers removes direct contact between a screw and a plate. So vibrations must travel through the foam in order to reach the board which will result in significant reduction. Moreover, I've used two levels of isolation. Upper frame plate is isolated from the main frame, and the board is isolated from the upper frame. Granted, there are some better materials for vibration reduction but not everybody has them. Foam, on the other hand, is relatively easy to come by.
I've replaced posts that came with SK450 kit (longer ones) with 6 mm short ones. That gives me lower profile which I need for something in the future (surprise! ;D). Also, the quad looks neater because it's harder to see all the wires hidden underneath the upper plate. But, you can use longer posts with no problem at all. It's even easier to build the quad since you don't have to struggle with small space underneath.
Customising the speaker is optional. You can simply plug it in as it is and put it somewhere on the frame. I didn't like extra wiring so I've decided to make it compact and cool. :-P
Tips:
1. Making foam donut washers the way I've showed in the video is a pain in the but. However, if you don't have nothing else, it's the way to go. Easier way is to use two sharp metal tubes/pipes (3 mm and approx. 5 mm) and simply twist them in the foam. That way you will be making them faster and they will turn out nicer. You can even buy them somewhere if you want.
WARNING:
1. When customising speaker, make sure you bend the pins the right way. If you bend them the other way the speaker will be facing backwards when plugged properly into the board (of course, that's OK if you want it to be like that).
You need:
KK2.0 flight control board (with the foam peace and the speaker):
JST male connector:
Upper plate from SK450 frame kit:
M3 12 mm nylon screws:
M3 20 mm nylon screws:
M3 nylon nuts:
Crimping tool:
Soldering Paste:
Soldering Iron (30W):
Any 30W (or similar) soldering iron.
Solder (60/40):
Third/helping hand tool:
Precision Knife:
Wire cutters & Nose pliers
Mouse pad or any other source of foam
3 mm and 5 mm drill bits
A drill and a #1 phillips screwdriver
Enjoy RC as much as I do! :)
Additional information:
Video: iPhone 4
Editing: FinalCut Pro X
Music: GarageBand
Fpvracer.lt is not the owner of this text/video/image/photo content, the real source of content is Youtube.com and user declared in this page publication as Youtube.com user,
if you have any question about video removal, what was shared by open community, please contact Youtube.com directly or report bad/not working video links directly to video owner on Youtube.com. Removed video from Youtube.com will also be removed from here.

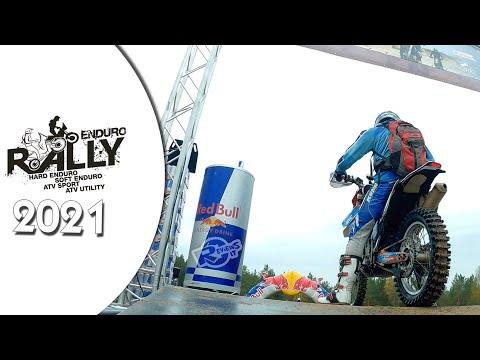 Enduro Rally 2021 - Pabradė military base
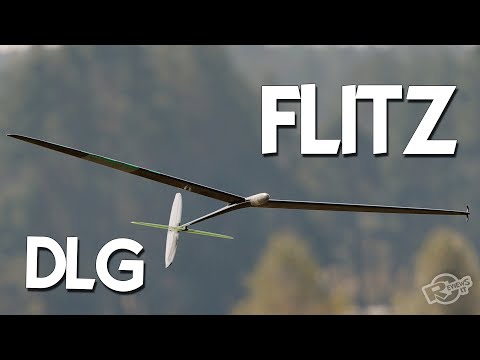 DLG - FLITZ - soaring joy!
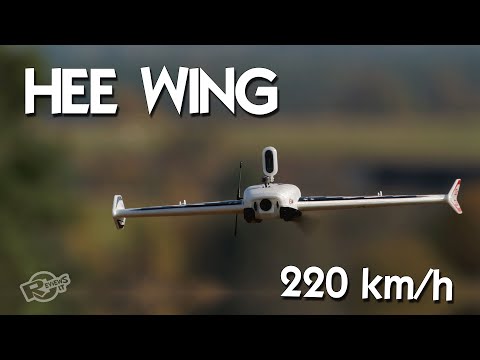 HEE Wing F-01 Ultra Delta Wing 690mm - upgraded Mini AR Wing? Diatone Reaper 690