This is the first video in this tricopter build series and it's one of the easiest steps - frame assembly. This video will show you step by step how to assemble Turnigy Talon Tricopter frame kit used in this build as well as some general tips and tricks.
There aren't many tricopter frames out on the market, especially not quality ones. Turnigy Talon Tricopter is not too expensive, full carbon fiber and aluminum frame. It does have some weak points, like tail assembly and tolerances, but all in all it's a great buy if you are looking to build a tricopter.
Tips:
1. Use threadlocker on EVERY screw where you have "metal on metal" contact. Multicopters create a lot of vibrations and if you don't use threadlocker screws will come undone and can cause a crash.
2. Use MEDIUM strength threadlocker. These screws are very small and using high strength threadlocker could lock the screw so hard that you won't be able to unscrew it.
You Need:
Turnigy Talon Tricopter Frame:
Turnigy Talon Tricopter Extended Carbon Fiber Booms (380 mm):
Hex Screwdrivers (1.5 mm, 2.0 mm, 2.5 mm):
Socket Screwdriver (5.5 mm):
Threadlocker (Medium Strength):
Needle-Nose Pliers:
Additional Information:
Video: Canon 600D/T3i - 18-55 mm Lens
Editing: FinalCut Pro X
Music: GarageBand
Fpvracer.lt is not the owner of this text/video/image/photo content, the real source of content is Youtube.com and user declared in this page publication as Youtube.com user,
if you have any question about video removal, what was shared by open community, please contact Youtube.com directly or report bad/not working video links directly to video owner on Youtube.com. Removed video from Youtube.com will also be removed from here.

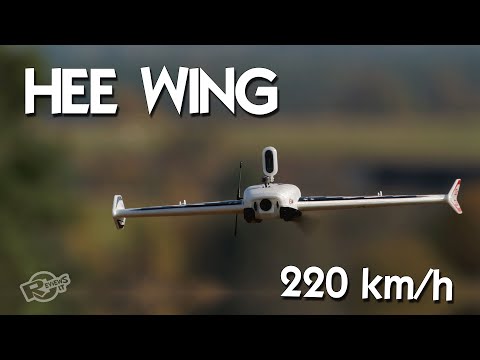 HEE Wing F-01 Ultra Delta Wing 690mm - upgraded Mini AR Wing? Diatone Reaper 690
 #Shorts massive servo wire attack
 #DriftMolėtai "Street" drift race finals 2022