I wanted to make a box to hold my comic books collection and I needed a reason to try out my Incra box joint jig.
Subscribe to my channel:
What you'll need:
- Wood glue
- Table Saw
- Formby's Tung Oil Finish
- Corner clamps
- Incra Box joint jig
- 8" dado stack
- Trim router
MORE PROJECTS, POSTS AND EVENTS
Want to support ILTMS? There are lots of ways .. find out more at
BUY A SHIRT, STICKER OR A HANDMADE ITEM!!
FOLLOW:
I cut one piece of 1/2" plywood down to 24"x24". This will become the side panels.
I ripped another piece to 8 1/2" wide to use as the ends.
I switched out the blade for a dado set, so I could cut 1/4" dados.
I set the saw to only cut 1/4" deep.
I cut a dado every inch across the whole board.
I left 1 1/2" on each end.
This piece was cut in half, perpendicular to the dados.
I trimmed the end pieces to the same height as the side panels.
This is my first time using this Incra box joint jig. It takes a little bit to setup, but then it's very easy to use.
I clamped together the end pieces and cut finger joints on one side.
Keeping them lined up, I moved the clamps to the other side.
Then I cut matching fingers on the other edge.
I clamped together the side panels.
Then I cut fingers on both ends of the panels.
The cut outs were cleaned up with a rolled up piece of sandpaper.
On each piece, I clamped down a straight edge about 3" up.
I used this as a guide to cut a rabbet along the bottom edge of all four pieces.
I added glue to all of the cut outs, then assembled the finger joints.
The joints were tight enough to have to be forced together (that's good).
I used some clamping pressure to pull them all of the way together.
For glue drying, I added corner clamps to keep the corners square.
After it dried, I added glue to the rabbet.
I cut a piece of 1/4" mdf to fit and dropped it in place.
I added some weight to make good surface contact while the glue dried.
I set a stop block on my sled and cut several pieces of MDF to act as dividers.
1/4" was what I had on hand, but 1/8 would be a better choice.
I clamped the dividers and rounded the bottom corners, so they would slide into the dados easily.
Then I test fitted the dividers and sanded as needed.
With an orbital sander, I sanded all of the finger "tips" flush, being sure not to sand away the top layer of veneer.
The whole box got a couple of coats of varnish.
Then I just had to move over all of my comics! Second channel: bit.ly/iltms-2
Fpvracer.lt is not the owner of this text/video/image/photo content, the real source of content is Youtube.com and user declared in this page publication as Youtube.com user,
if you have any question about video removal, what was shared by open community, please contact Youtube.com directly or report bad/not working video links directly to video owner on Youtube.com. Removed video from Youtube.com will also be removed from here.
Watch more videos
DLG - FLITZ - soaring joy!
The joy of DLG soaring!
Pilot and Wing owner - Andrius Narbutas
Bright LED:
/ - More products
...

 DLG - FLITZ - soaring joy!
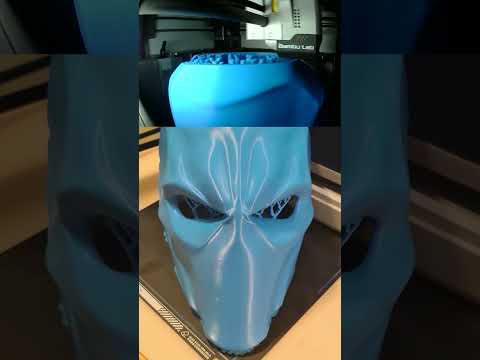 Deathstroke 3d printed wearable mask #shorts
 Auto moto parkas 2021-11-28 SandBOX