Links to everything you need to screen print your own t-shirts:
Visit Casper.com/make and use the code MAKE for $50 off
Here's what you'll need:
(purchasing via these affiliate links supports ILTMS)
Photo Emulsion Kit (includes emulsion remover) -
Screen Printing Ink (white) -
Squeegee (multiple sizes) -
Aluminum Screen (23"x31") -
Palette Knife -
Blank t-shirts -
MORE PROJECTS, POSTS AND EVENTS
Want to support ILTMS? There are lots of ways .. find out more at
BUY A SHIRT, STICKER OR A HANDMADE ITEM!!
FOLLOW:
Screen printing is a fantastic way to cheaply make branded items, or even one off custom pieces. Need a silly t-shirt to surprise a friend with? Printing it yourself is the cheapest way to make that happen! Kids can even get the hang of printing VERY quickly and be apart of the entire process, which is awesome!
Here are a few things that I didn’t cover in the video that I think will give you better results.
Use high dpi screens. These provide finer detail, and have significantly improved my prints.
Have someone hold your frame so that you can use two hands to evenly pull the squeegee.
If you don’t have access to a dryer for heat setting, you can cover the print with a piece of paper and iron it for a minute.
If using a dark material, look for an ink labeled “super opaque”. You’ll get a brighter colored print.
You’ll need a screen and squeegee to start.
Also, some photo emulsion for screen printing.
Add water to the sensitizer, then mix it with the emulsion.
Mix thoroughly until it’s an even green color.
Pour just a small amount onto the screen.
Use the squeegee to spread it evenly on both sides of the screen. Try to get even and full coverage by alternating directions and sides.
Dry the emulsion in front of a fan and IN THE DARK.
After it’s dry, quickly lay your artwork, backwards, on the back of the screen. You can print your art on transparencies at most office supplies stores or copy centers.
Tape the art in place, then lay on a piece of glass to hold it against the screen.
Apply a very bright light for 30-45 minutes.
You can also use sunlight, but the time may vary depending on cloud cover and placement.
The areas covered by your art do not get exposed when you remove the transparency.
Use a light spray and soft toothbrush to wash out the unexposed emulsion.
Be careful not to use too much force when spraying it out or you will remove emulsion around your design as well.
Use painters tape to mask any areas that you don’t want to print yet, or areas where the emulsion isn’t intact.
Layout your shirt on smooth, flat surface and remove wrinkles.
Place your design where you want it to be printed.
Lay a thick bead of ink above the art, extended past both ends. Be sure to add extra ink above large areas to be printed.
Even though I’m working alone here, you’ll have better luck to have someone hold your screen, then use two hands to evenly pull the squeegee fully across your screen.
Remove the screen and wash out all of the ink before it dries. After the ink dries, run your shirt through a clothes dryer for 5 minutes to heat set the print.
The screens can be reused by cleaning them with emulsion remover.
Spread a small amount across both sides of the screen.
Then use a hose to wash out the emulsion until the screen is clean. Dark inks will stain the material of the screen, but this will not affect future prints. Just make sure to remove all of the emulsion. Second channel: bit.ly/iltms-2
Fpvracer.lt is not the owner of this text/video/image/photo content, the real source of content is Youtube.com and user declared in this page publication as Youtube.com user,
if you have any question about video removal, what was shared by open community, please contact Youtube.com directly or report bad/not working video links directly to video owner on Youtube.com. Removed video from Youtube.com will also be removed from here.
Watch more videos
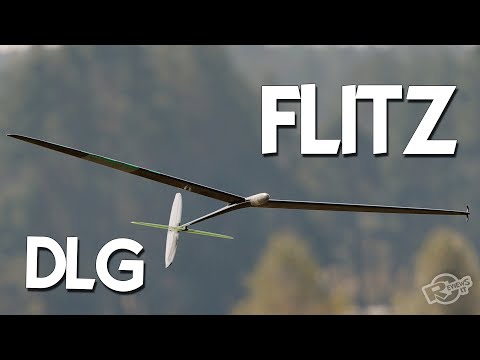
DLG - FLITZ - soaring joy!
The joy of DLG soaring!
Pilot and Wing owner - Andrius Narbutas
Bright LED:
/ - More products
...

 DLG - FLITZ - soaring joy!
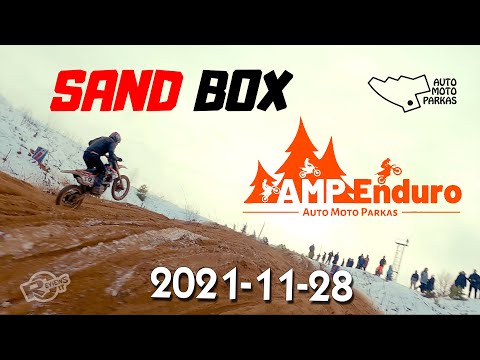 Auto moto parkas 2021-11-28 SandBOX
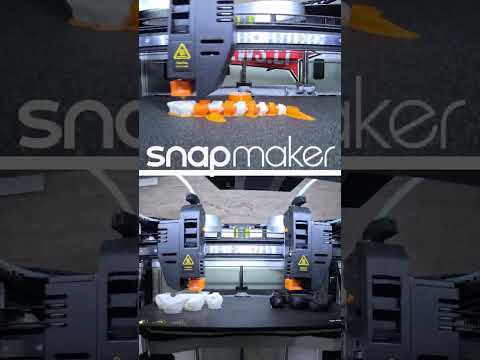 SnapMaker J1 IDEX 3d printer - double extruder workflow sample dual head print