For more info on how to create your own DIY Steadicam (camera counter balance) visit
GoPro camera test footage:
MORE PROJECTS, POSTS AND EVENTS
Want to support ILTMS? There are lots of ways .. find out more at
BUY A SHIRT, STICKER OR A HANDMADE ITEM!!
FOLLOW:
After I got our of college, I was the “grown up” among my friends (most of whom were still in school). They were living in small apartments, eating too much pizza, going to the beach a 3 am. I was married, had a house… and a workshop.
The fact that I loved to make things worked really well with the fact that a bunch of my art student friends didn’t have access to the tools and space that they wanted to accomplish their art. One of my really good friends (the extremely talented Anthony Dodero) was shooting some film work and wanted a couple of simple jigs to get improve the shots. One of them involved cantilevering a camera out a car window (crazy, dangerous, etc) but the other was pretty easy to figure out.. a really simple camera counter balance.
Steadicam is a brand name, but the word has become synonymous with a unit to help stabilize hand held camera shots. The real Steadicam units are often MUCH larger and are mounted to a chest harness to help distribute the weight of the rig to your torso. Since we were looking for something on a college student budget, we went with steel pipe from a big box store.
Check out this really simple build below, and if you’ve got suggestions for add-ons/improvements please leave them in the comments!
Here’s what you’ll need:
(purchasing via these affiliate links supports ILTMS)
3 lengths of 3/4″ steel pipe
3/4″ steel pipe T fitting
1/4-20 x 1 ” screw and two 1/4-20 nuts
2 3/4″ steep pipe caps
1 3/4″ steel pipe flange
1″ PVC pipe (about 6″ in length)
Duct tape
Flat black spray paint
I started with some 3/4″ steel pipe, fittings, PVC and some bolts & nuts.
It’s really simple, I screw the pieces together, except for the top cap.
I drilled a hole through the top cap, using a clamp to stabilize it.
I pushed a screw up through it and tightened on a nut. A second nut was added, but not tightened.
Then the cap was added to the assembly.
This is essentially finished, but there’s a lot of friction when you hold the pipe directly.
I cut a piece of 1″ PVC pipe a little longer than my fist.
I cut it in half on the bandsaw.
Then I cut it into quarters. Only three of the four are needed.
A sanding block removes the burrs very quickly.
I needed to remove the angle from the cut edge using a belt sander.
This is what they looked like afterward. All three pieces needed this.
The pieces then fit perfectly around the steel pipe.
I laid out a bed of duct tape then laid the PVC pieces in place, outer edge to outer edge.
Using a sharp knife, I trimmed off the tape from the top and bottom.
Then I trimmed off the tape from one side.
The PVC wrapped around nicely, and the remaining tape folded over to make it into a sleeve.
Here you can see why the corners needed to be removed.
After removing the sleeve and the screw/nuts, I sprayed the whole thing black.
I screwed the flange into a scrap of wood to use as a clamping base.
In this case, I clamped a brick to counter weight the camera, but this can be swapped out with whatever weight item needed.
Last I screwed on the camera, and tightened the nut up to it snuggly.
I have three side by side tests in the video above! Second channel: bit.ly/iltms-2
Fpvracer.lt is not the owner of this text/video/image/photo content, the real source of content is Youtube.com and user declared in this page publication as Youtube.com user,
if you have any question about video removal, what was shared by open community, please contact Youtube.com directly or report bad/not working video links directly to video owner on Youtube.com. Removed video from Youtube.com will also be removed from here.

 #DriftMolėtai "Street" drift race finals 2022
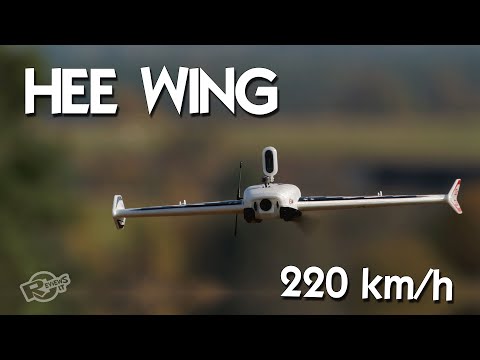 HEE Wing F-01 Ultra Delta Wing 690mm - upgraded Mini AR Wing? Diatone Reaper 690
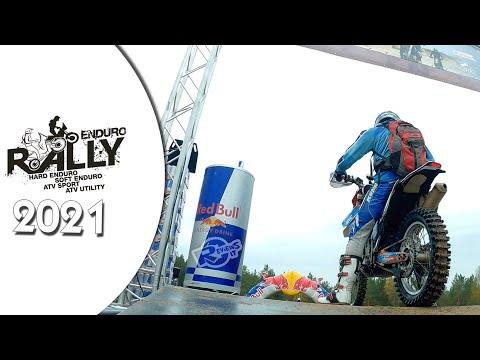 Enduro Rally 2021 - Pabradė military base