
Watch more videos
-
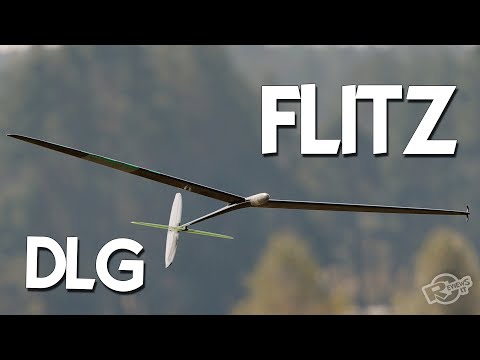 DLG - FLITZ - soaring joy!
The joy of DLG soaring! Pilot and Wing owner - Andrius Narbutas Bright LED: / - More products ... -
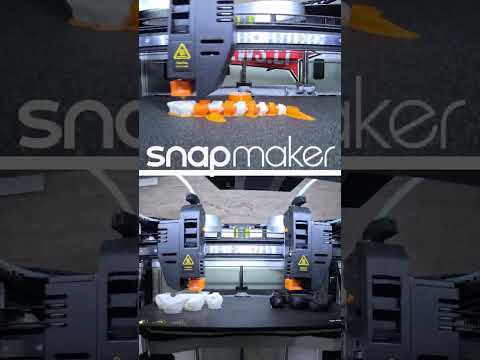 SnapMaker J1 IDEX 3d printer - double extruder workflow sample dual head print
#shorts Enjoy double extruder workflow satisfaction Music by: Gibran Alcocer - Idea 1 - piano c... -
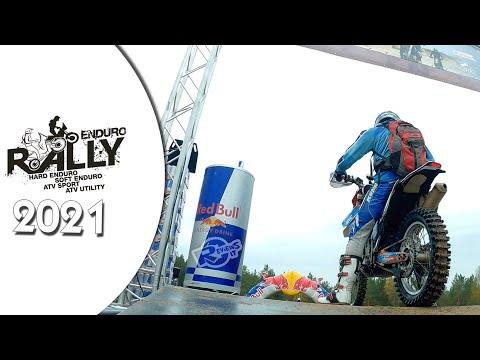 Enduro Rally 2021 - Pabradė military base
Had a wonderful opportunity to be in a very dirty place on a badly rainy morning but with great a...
