A complete guide to making high-resolution screen prints with minimal tools.
Notes: When applying film emulsion to the screen, the matte surface should face the screen. The glossy surface is the plastic backing, which is removed later, just before exposure.
The resolution test shown in the video actually indicates line width, not pitch. So, the 1mm sample has 1mm lines and 1mm spaces. Thus, the pitch is actually 2mm.
The Nazdar paint instructions say there is a 30 minute "induction" period that is needed for the catalyst to start working. Nope. Just weigh out the paint and catalyst, mix, and immediately apply to the screen. Print the needed items quickly, and clean it off the screen as soon as possible. Use disposable mixing cups / tools. It is *messy*!
If your emulsion is not sticking to the screen, even with very long exposure times, it probably isn't dry. The green film may seem fairly dry after a few hours, but adhesion during the wash out process will be poor until it is really completely dry, then exposed.
Shopping list:
Pre-stretched screen:
Squeegee:
Epoxy paint:
Paint cleaner:
Emulsion remover:
Degreaser:
Film emulsion:
Vellum paper: /
Consider using 365nm LEDs instead of fluorescent tubes for exposure.
Fpvracer.lt is not the owner of this text/video/image/photo content, the real source of content is Youtube.com and user declared in this page publication as Youtube.com user,
if you have any question about video removal, what was shared by open community, please contact Youtube.com directly or report bad/not working video links directly to video owner on Youtube.com. Removed video from Youtube.com will also be removed from here.

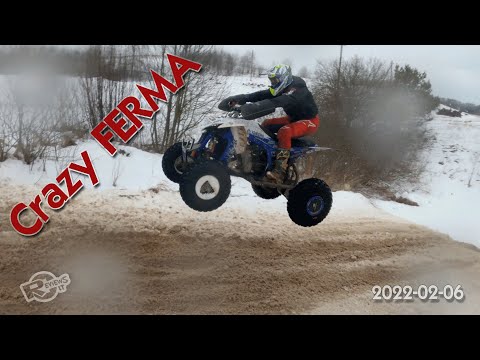 Dirt bike and quadbike event at Crazy Ferma 2022-02-06
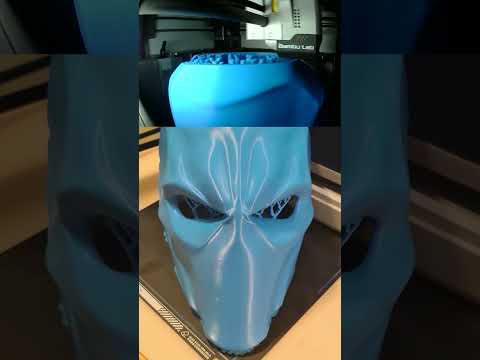 Deathstroke 3d printed wearable mask #shorts
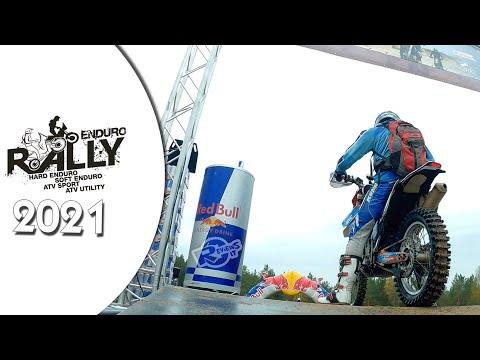 Enduro Rally 2021 - Pabradė military base