I used my cnc to make an aluminum and teak license plate.
Check out Gorilla Glue to find the items used in this video
See the follow up video about how awesome the upgrade was at
Sponsored by Gorilla Glue
MORE PROJECTS, POSTS AND EVENTS
HERE'S WHAT YOU'LL NEED:
- Construction adhesive
- Table Saw
- Aluminum sheet (1/8"x12"x9")
- 1/8" to 1/4" bushing
- Band Saw
- X-Carve
- Wire brush
- Belt Sander
- Endmill bit for cutting aluminum
- Dewalt DWP611 Trim router
- DWP611 Mount for X-Carve
Want to support ILTMS? Get early viewing, exclusive content and more...
BUY A SHIRT, STICKER, PENCILS and MORE!!
FOLLOW:
In Illustrator, I drew a rounded rectangle 12"x6"
I duplicated that shape and scaled it down a little so it fit about 1/2" inside.
I added some text, and center aligned all three pieces.
I drew two rounded rectangles, to act as screw holes, and spaced them evenly.
I saved it all as a .svg file to import into Easel. I set the cut depth of each shape to it's desired amount, depending on if it was engraving or cut through.
I duplicated the file, and removed the outer shapes. I set the letters to be cut as an outline (outside the shape) to match the previous pockets cut out for the letters.
For materials, I used a scrap of 1/2" teak and a 1/8"x12"x12" piece of aluminum.
The aluminum cut VERY slowly because I didn't have the correct bit on hand, and I was using the stock spindle on the X-Carve.
It was slow, but it worked. I let it cut the screw holes and the inner outline before stopping the Easel operation. This caused the bit to return to it's starting position.
I switched out the bit to a new, sharp one and removed everything from Easel but the letters and made a very shallow pass on the outer perimeter as a reference line.
It still took a very long time to cut, but it did a great job.
I was surprised, and happy with the final product!
I resawed my teak scrap down to 1/4" thick on the band saw.
I clamped the piece down and ran the second Easel file, just for outlining the letters.
As a comparison, this cut took about 15 minutes.
The letters turned out very nicely. I didn't cut quite all of the way through on purpose so the pieces wouldn't fly off when they were free. I was able to gently push them out of the piece of wood.
I sanded all of the edges and faces of each piece to clean them up.
Using the shallow reference line, I used the band saw to cut the aluminum to it's final outer shape.
I rounded over the corners on the disc sander.
I used the belt sander to smooth out the edges.
I also laid it flat and sanded the full face of the plate to give it a "brushed" look.
I pressed each letter into place, which left marks where inner and outer cuts overlapped. Watch the video for a full explanation of why that happens.
You can see the small indention where the bit couldn't cut all of the way to the point of the letters.
Using that indention as a guide, I trimmed it away with a knife.
With a little trimming, each letter sat down in the plate correctly.
I cleaned up the screw holes with a drill bit.
I used a wire brush and a sanding block to even out the "brushing" effect on the face.
To attach the letters, I made a pile of construction adhesive on a scrap piece.
I used a small stick to apply the adhesive to the inner surface of the inlay. It doesn't take much and I tried to avoid squeeze out.
I pressed each letter into place after the adhesive.
I added a scrap and some bricks to hold the letters in place while the adhesive fully cured overnight.
After curing, the adhesive is a rubbery material that is easily removed with a sharp knife.
I added some tung oil to the wood and it was ready to mount on my Cruiser! Second channel: bit.ly/iltms-2
Fpvracer.lt is not the owner of this text/video/image/photo content, the real source of content is Youtube.com and user declared in this page publication as Youtube.com user,
if you have any question about video removal, what was shared by open community, please contact Youtube.com directly or report bad/not working video links directly to video owner on Youtube.com. Removed video from Youtube.com will also be removed from here.

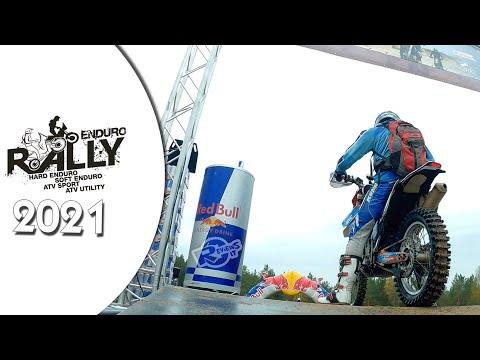 Enduro Rally 2021 - Pabradė military base
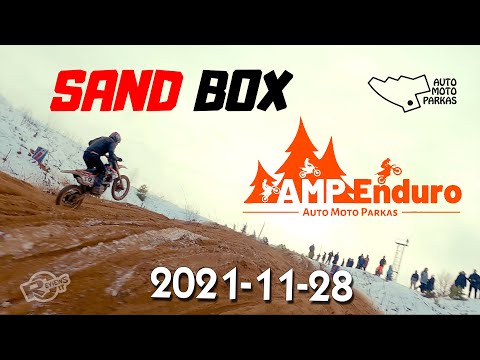 Auto moto parkas 2021-11-28 SandBOX
 DeathStroke BambuLab X1C #Shorts