
How to choose FPV camera | Quadcopter Multicopter RC
Many currently available FPV cameras were originally designed for security and surveillance purposes, and they generally work well for FPV too. But to choose the best FPV camera for your drone, there are a few things to consider which we will discuss in this post.
Choosing the Best FPV Camera For Quadcopter / Multicopter
FPV camera is one of the most important parts of your quadcopter setup. No matter how good the video transmitter is, the image quality on your FPV goggle or monitor display, is limited by your FPV camera.
Content Index
- CCD and CMOS
- NTSC and PAL
- FOV
- TVL
- Camera Weight, Size, working voltage
- IR Block and IR sensitive
- Other features
CCD and CMOS – Imaging Sensor Type
CCD and CMOS are two different imaging sensors used in cameras, each has its unique characteristics and advantages. Many HD digital cameras uses CMOS, but for FPV the CCD cameras works better than CMOS. Here are a summary of the pros and cons.
CCD
- Less jello
- Better light sensitivity
- Greater dynamic range
- Less noise
CMOS
- Cheaper
- A little bit lighter
- A little bit smaller
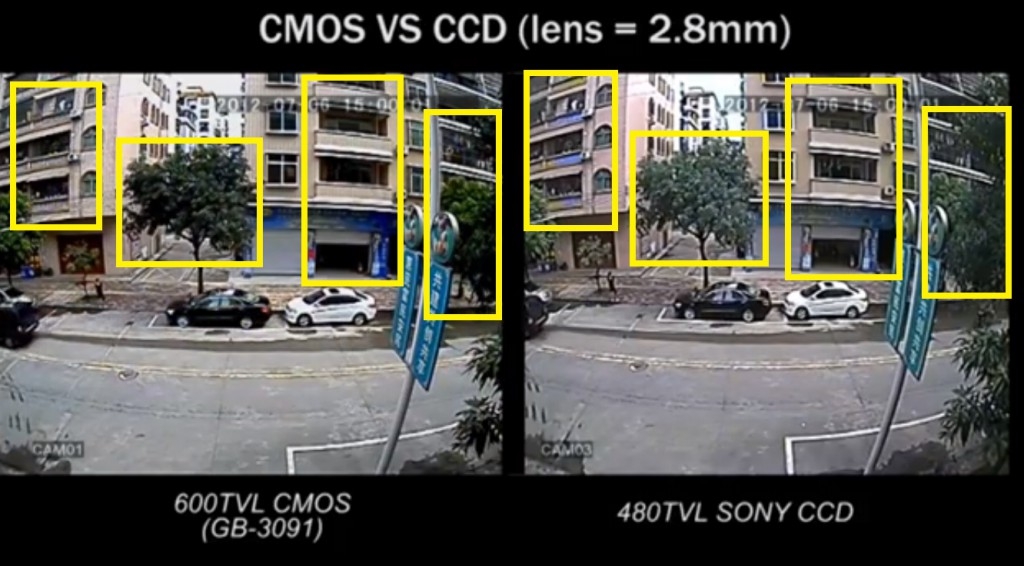
Size and weight is almost negligible these days, pick a small CCD camera would be an ideal option. Very often when I see a very cheap FPV camera, it’s likely to be a CMOS camera, and tend to have poor colour and resolution.
NTSC and PAL – Video Encoding Standard
It really isn’t a big issue whether to use PAL or NTSC nowadays, as they are both supported by most FPV equipment. NTSC is used in North America, Japan and South Korea. PAL is used in most of Europe, Australia and large parts of Africa and Asia. It’s a good idea to stick with the standard in your country. But I don’t think it would be a huge problem if you decide to use the other system.
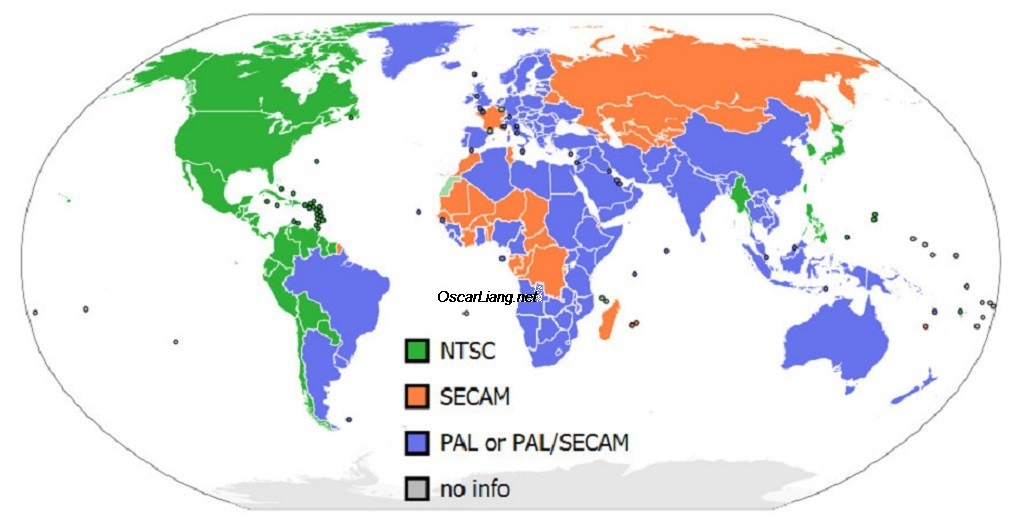
The main different is that PAL offers better resolution, while NTSC allows more frame rate. So if you want to have good picture, PAL is good. But if you want more fluid footage, NTSC does a better job.
- PAL: 720 x 576 @ 25fps
- NTSC: 720 x 480 @ 30fps
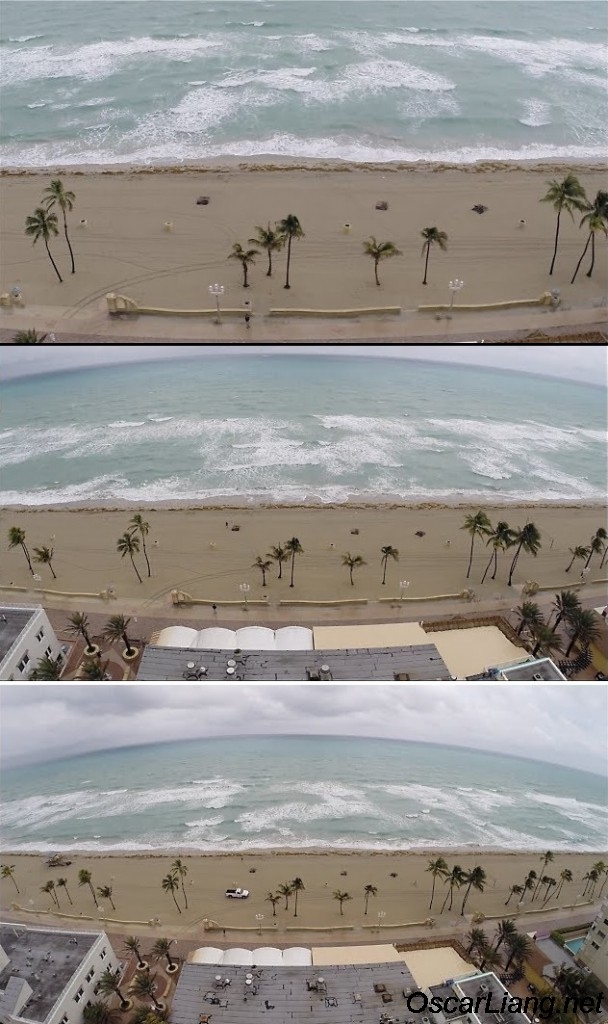
FPV Camera Field of View (FOV) – Lens Focal Width
When selecting a FPV camera, you usually have an option of different lens focal width, which give you different field of view (FOV). The most common being 3.6mm or 2.8mm. For example, a 3.6mm focal length lens would give you about a 90 degree FOV, which is good for FPV. A 2.8mm lens will give you even more, which is 112 degree (some people like it, some people don’t).
It’s important to pick a suitable focal width number, that you feel comfortable with. The lower focal length number, the wider FOV (and the more environment you can see). But it’s not always a good thing as you will start to notice the “fish eye” effect. The objects in the middle will appear smaller and further away, and the edges of the image will appear curly. With a high focal length number the image will appear zoomed in. I personally find 2.8mm and 3.6mm appropriate values for FPV.
This is a good example of different FOV, from high focal width number to low.
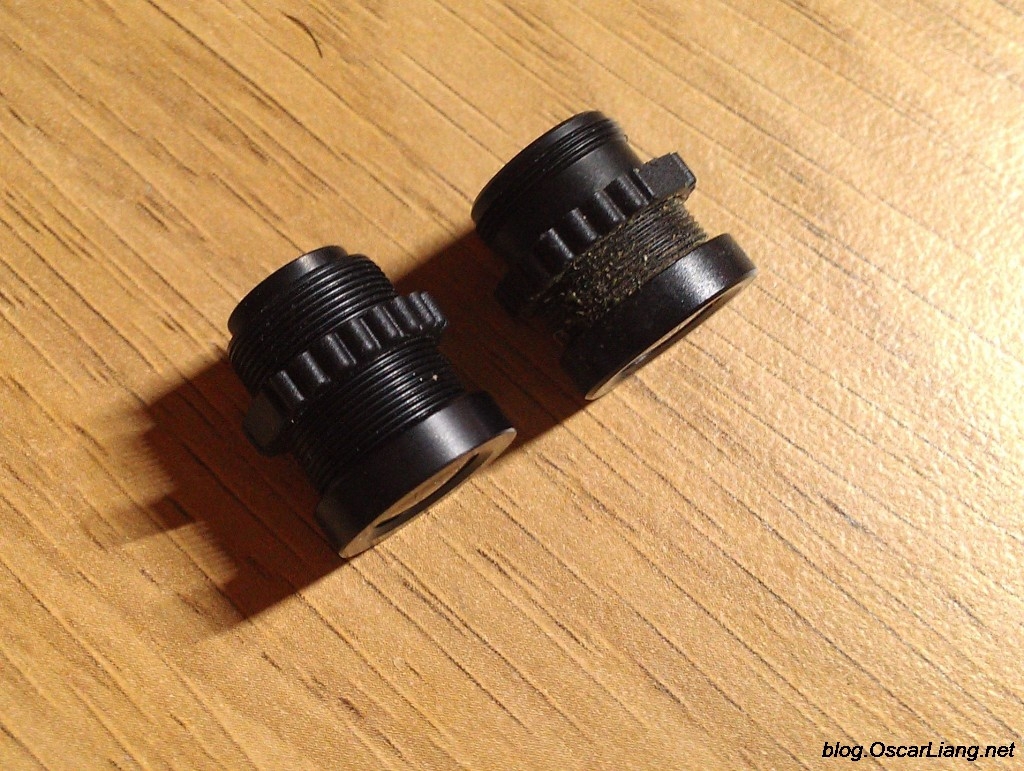
In fact many cameras offer the accessory lenses of different focal length for swap-out. You can buy these change-able lenses and try them, instead of buying a whole camera. These are the 2.8mm Screw-in FPV camera lenses.
Some people find 2.8mm too wide to see clearly, because objects might look more distant and smaller. So it’s all down to personal preference and what type of flying you do. For instance if you tend to fly through the wood, narrower FOV would help to see more clearly, and avoid hitting obstacles. If you fly high altitude in clear open space, wider FOV allow a wider view.
Some lenses can even improve the camera light sensitivity, and some come with infrared filter which enhance the ability at night.
FPV Camera Resolution TV Line (TVL) – Definition
TVL (TV Lines) is basically a measure of how good the FPV camera resolution is. The number is based on how many alternating black and white lines can be displayed in its image horizontally. A 600TVL camera means it can display 300 black lines and 300 white lines alternately in one picture. Commonly seen FPV cameras have TVL at 380, 480, 540, 600, 700, 800 etc. Therefore, as you can see the more TV lines, the better definition image you can get out of the camera.
Of course, the more TVL of resolution comes with a price, it costs more! You can always fly with a low TV Line camera such as a 380TVL, but the image is not as clear as a 600TVL camera. But it’s not always “the more the better”, due to the limitation of the video transmission system, there is a upper-bound TVL value.
Personally when I fly FPV, I don’t find 700TVL too much better than 600TVL. Some say it’s because of the NTSC and PAL standards constrains, which have a limit of 483 and 575 lines respectively due to blanking effects. Therefore a 600 TV lines camera is good enough. Lastly, with 5.8Ghz video transmiiter, you can use higher TVL Cameras than 1.2GHz as the former transfer more data per second.
FPV Camera Size, Weight and Operating Voltage/Wiring
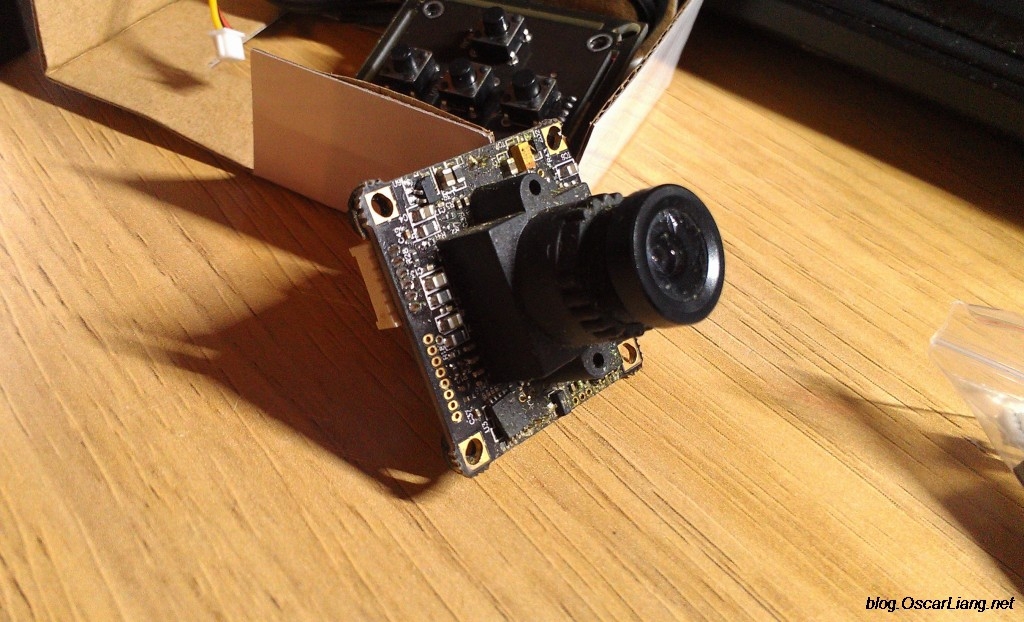
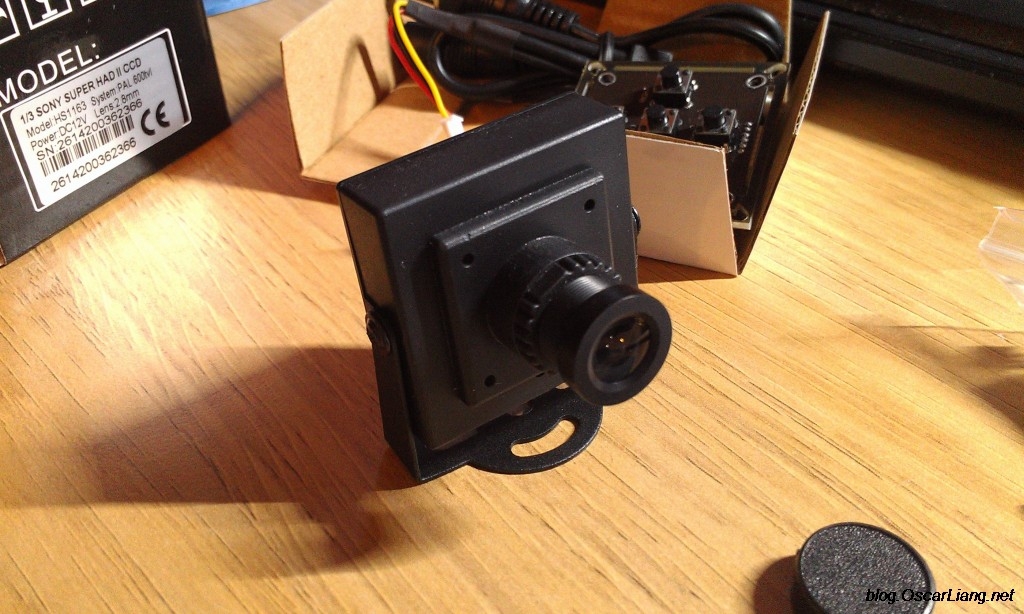
Next things to consider would be the dimensions and working voltage. Cameras for FPV these days is standardizing, most are made into a square shape of length 32mm or 38mm. Sometime you see them as 1/3″ cameras because they use the popular 1/3″ Sony CCD chip. So they are also often branded as “Sony Camera”.
Sometimes they come with a metal case to protect the PCB and components, sometimes it doesn’t. It all depends on how you are mounting it on your quadcopter.
A FPV cameras could weight somewhere between 20g to 50g (with the metal case). But I have also seen some mini FPV cameras which are only 5g.
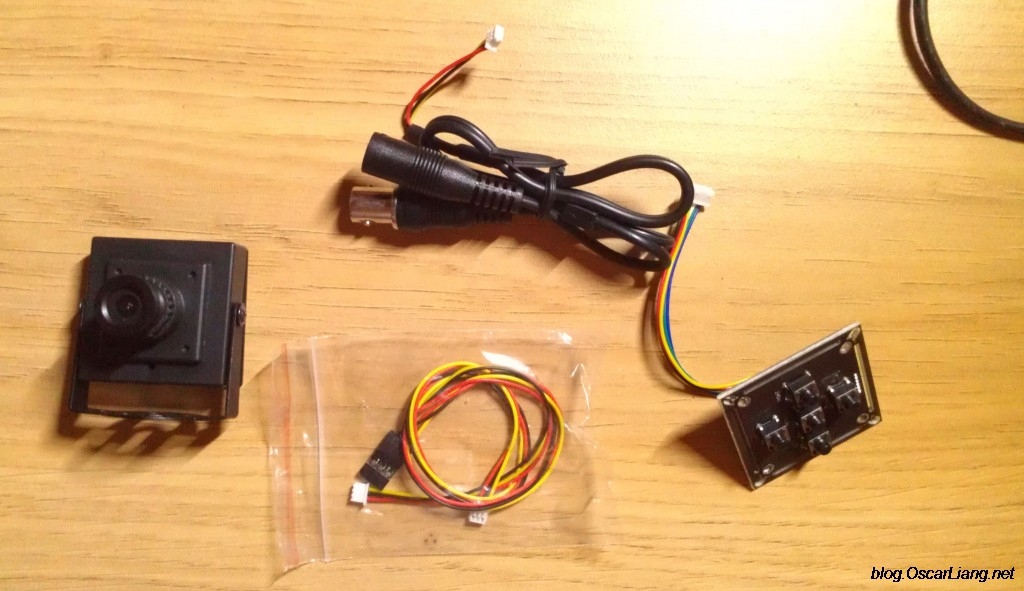
The electrical connections are usually very simple, these cameras usually have 3 or 4 cables. Red wire is the positive voltage power, black wire is the ground, yellow wire is the video signal. Sometimes you get an extra withe wire which is the audio (if there is a built-in microphone). There are two common operating voltages of FPV cameras, 3.5-5 Volts and 12 Volts. In my opinion 12V cameras are handy, because you have the option of powering it with your main lipo battery (if you are running 3S Lipo). I also prefer to run a LC filter (power filter) to clean the power source for the camera and video transmitter for the best quality image possible.
IR Block VS IR Sensitive
Nowadays some cameras offers two versions, one is IR Block and the other IR Sensitive. One gives you better colour, the other one works better in low light condition.
Here is a more detail comparison of the two.

Camera Settings Features
Some good cameras allow users to change settings using an OSD (on screen display) menu module. There are so many settings on these cameras, it could be overwhelming for beginners.
Running a dedicated FPV camera VS GoPro / Mobius
If you use the GoPro or Mobius camera for recording, you might wonder if these cameras can be used for FPV as well. It’s not uncommon to see people do that, in order to simplify their multicopter systems to save weight and costs. However there are some disadvantages with GoPro and Mobius as FPV cameras.
- Lag – there is a obvious delay, especially when recording.
- Battery dependant – You don’t have video feed if the GoPro battery dies.
- Recording locks up – If for some reason the recording freezes, your will also lose video feed.
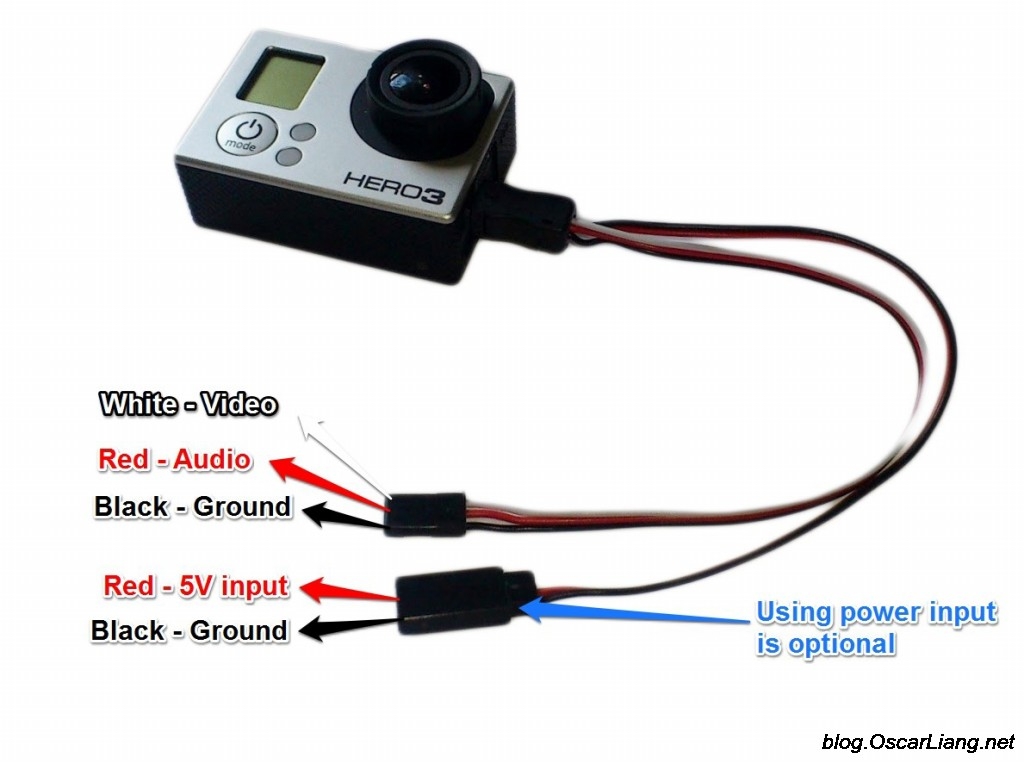
Therefore I always use a dedicated FPV camera alongside with a HD recording camera, to take videos and photos. It’s also important that you don’t put the FPV camera on a gimbal, so it doesn’t mess up your orientation. You can also consider having video feed from the GoPro as well at the same time, and use a video feed switcher. You can switch between cameras with your radio transmitter, and see what the Gopro is filming.
Adding On Screen Display Data – OSD
This is a bit off the topics, but i am sure there are still people wondering what an OSD is. Basically, an OSD (on screen display) is a device that overlays text/data onto your camera image. It takes the video feed from the camera, and the output goes into your video transmitter.
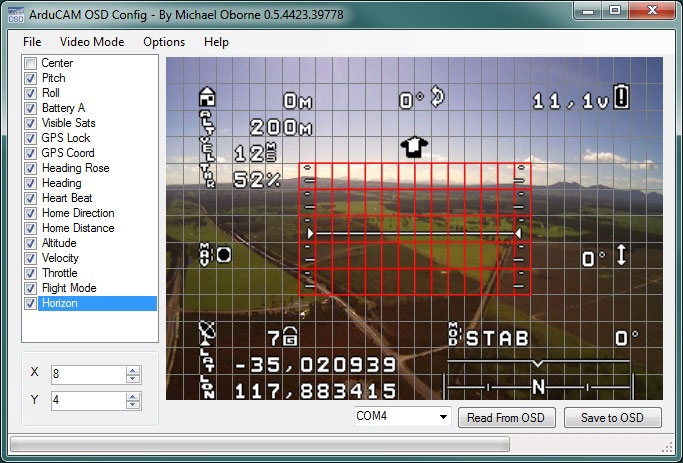
Many people who are just starting out don’t really need it, but it’s definitely a useful tool to have. You can display all sorts of data depending on your OSD: flight speed, altitude, compass heading, take off coordinate and distance, etc. For people like me who doesn’t fly long range, I prefer to have just the time, and batter voltage level displayed on my FPV screen.
Conclusion
So here we conlude the above are some important aspects to bear in mind, when you are choosing your FPV camera. I hope this article helped you in understanding what makes a good FPV camera, and hopefully you can now go and find the best FPV camera for yourself. Don’t hesitate to leave a comment/question, and have a great FPV flight!
Add Comment
